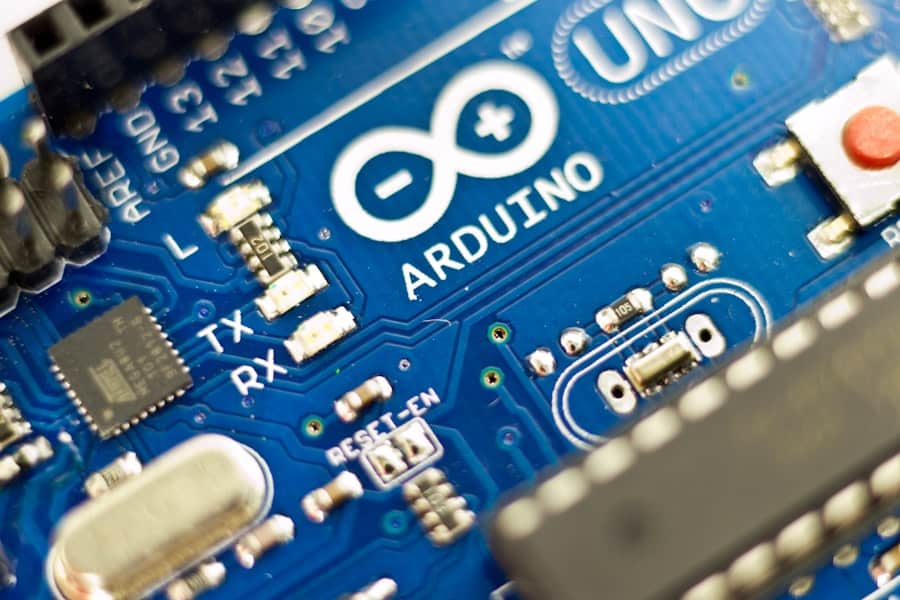
Arduino has emerged as a cornerstone in the realm of DIY electronics and programming, providing enthusiasts and professionals alike with a versatile platform for creating innovative projects.
One of the most practical applications of Arduino technology is in the development of smart plant watering systems.
These systems leverage sensors and automated controls to ensure that plants receive the right amount of water at the right time, thereby promoting healthier growth and reducing water waste. The concept of a smart plant watering system is particularly appealing in today’s fast-paced world, where many individuals struggle to maintain their indoor and outdoor gardens. By automating the watering process, these systems not only alleviate the burden of daily plant care but also optimize water usage, which is crucial in regions facing water scarcity.
The integration of Arduino into this project allows for customization and scalability, enabling users to tailor their systems to meet specific needs, whether for a single potted plant or an entire garden. This article will delve into the components required for building a smart plant watering system, the setup process, programming, testing, and even advanced features like Wi-Fi connectivity.
Key Takeaways
- Arduino is a versatile microcontroller platform that can be used to create smart plant watering systems.
- Components needed for the project include Arduino board, soil moisture sensor, water pump, tubing, and power supply.
- Setting up the Arduino board involves connecting the soil moisture sensor and water pump, and programming it for automated plant watering.
- Testing and calibrating the system is essential to ensure proper functionality and efficient water usage.
- Additional features like Wi-Fi connectivity or mobile app control can be incorporated to enhance the smart plant watering system.
Understanding the Components Needed for the Project
Primary Components
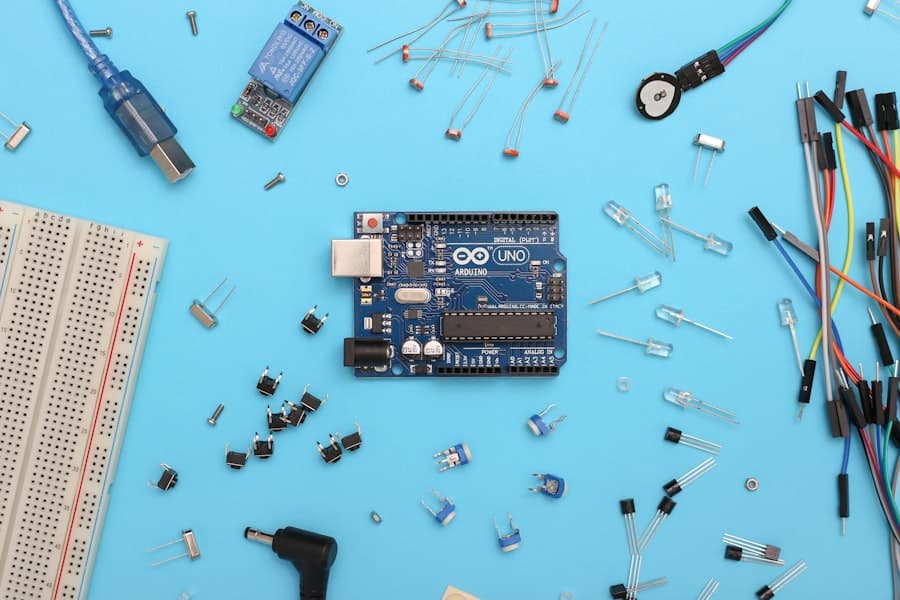
The primary elements include an Arduino board, soil moisture sensors, a water pump or solenoid valve, a relay module, and a power supply. The Arduino board serves as the brain of the operation, processing inputs from sensors and controlling outputs to the pump or valve.
Choosing the Right Arduino Board
Common choices for the board include the Arduino Uno or Nano, both of which are user-friendly and well-documented.
Sensors and Actuators
Soil moisture sensors are critical for determining when a plant needs water. These sensors typically consist of two probes that measure the electrical resistance of the soil; when the soil is dry, resistance increases, triggering the need for watering. A water pump or solenoid valve is necessary to deliver water from a reservoir to the plant. The relay module acts as a switch that allows the low-power Arduino to control the high-power pump or valve safely.
Additional Components
Other optional components may include an LCD display for real-time monitoring and a buzzer for alerts.
Setting Up the Arduino Board and Connecting Sensors

Once all components are gathered, the next step involves setting up the Arduino board and connecting the various sensors and actuators. Begin by installing the Arduino Integrated Development Environment (IDE) on your computer, which will allow you to write and upload code to your board. After connecting the Arduino to your computer via USB, you can start wiring up your components according to a schematic diagram.
The soil moisture sensor should be connected to one of the analog input pins on the Arduino. Typically, this involves connecting the sensor’s VCC pin to 5V on the Arduino, GND to ground, and the signal pin to an analog input pin such as A0. The relay module will require connections to both a digital output pin on the Arduino (for controlling the relay) and power connections to operate correctly.
The water pump or solenoid valve will be connected through the relay module, allowing it to be activated when needed without overloading the Arduino’s output pins. It’s crucial to ensure that all connections are secure and that there are no short circuits before proceeding.
Programming the Arduino for Automated Plant Watering
With the hardware set up, attention turns to programming the Arduino to automate the watering process. The programming involves writing code that reads data from the soil moisture sensor and activates the water pump when necessary. The basic structure of this code includes initializing variables for sensor readings and pump control, setting up pin modes in the `setup()` function, and implementing a loop in the `loop()` function that continuously checks moisture levels.
A simple example of this code might involve reading the moisture level from the sensor and comparing it against a predefined threshold value. If the moisture level falls below this threshold, indicating dry soil, the code would trigger the relay connected to the water pump for a specified duration. This duration can be adjusted based on factors such as plant type and environmental conditions.
Additionally, incorporating delays between readings can prevent excessive pumping and allow for more accurate monitoring of soil conditions over time.
Testing and Calibrating the System
After programming is complete, it’s essential to test and calibrate the system to ensure it operates as intended. Begin by uploading your code to the Arduino board and observing how it responds to varying moisture levels in the soil. This can be done by manually adjusting moisture levels—either by adding water or allowing soil to dry out—and monitoring whether the pump activates correctly.
For instance, different plants have varying moisture requirements, so what works for one species may not be suitable for another. To calibrate effectively, take multiple readings from your moisture sensor at different soil conditions and adjust your threshold values accordingly in your code.
This iterative process ensures that your smart watering system provides just enough water without over-saturating or under-watering your plants.
Incorporating Additional Features like Wi-Fi Connectivity or Mobile App Control

As technology continues to evolve, so too do opportunities for enhancing smart plant watering systems with additional features. One popular enhancement is incorporating Wi-Fi connectivity using modules such as the ESP8266 or ESP32. This allows users to monitor their plants remotely via a mobile app or web interface, providing real-time data on soil moisture levels and enabling manual control over watering.
To implement Wi-Fi connectivity, you would need to modify your existing code to include libraries specific to Wi-Fi communication. This typically involves setting up an access point or connecting to an existing network and using HTTP requests to send data back and forth between your Arduino and a server or app. There are numerous platforms available that facilitate this integration, such as Blynk or ThingSpeak, which provide user-friendly interfaces for monitoring sensor data and controlling devices remotely.
Another exciting feature is integrating notifications through mobile apps or SMS alerts when soil moisture levels drop below a certain threshold. This can be achieved using services like IFTTT (If This Then That) or integrating with platforms like Telegram for instant messaging alerts. Such enhancements not only improve user experience but also provide peace of mind for those who may travel frequently or have busy schedules.
Troubleshooting Common Issues and Maintenance Tips
As with any electronic project, users may encounter various issues during setup or operation of their smart plant watering systems. One common problem is inaccurate readings from soil moisture sensors due to corrosion or dirt buildup on sensor probes. Regular maintenance involves cleaning these probes with distilled water or replacing them if they become too corroded over time.
Another issue could arise from power supply problems; if your pump fails to activate, check connections between your relay module and power source as well as ensuring that your power supply can handle the load required by your pump. Additionally, if you notice that your system is over-watering or under-watering plants consistently, revisit your calibration settings in both hardware connections and software thresholds. It’s also advisable to periodically check all connections for wear and tear, especially if your system is exposed to outdoor elements.
Ensuring that all components are weatherproofed can significantly extend their lifespan. Keeping an eye on software updates for libraries used in your project can also enhance functionality and security.
Conclusion and Further Resources for Arduino Projects
The journey into creating a smart plant watering system using Arduino opens up a world of possibilities for both novice makers and seasoned engineers alike. With its combination of hardware flexibility and software programmability, Arduino serves as an ideal platform for developing solutions that address everyday challenges like plant care. As users gain experience with their projects, they can explore further enhancements such as integrating additional sensors (like temperature or light sensors), creating more complex algorithms for watering schedules based on weather forecasts, or even developing fully autonomous greenhouse systems.
For those looking to expand their knowledge further, numerous resources are available online including forums like Arduino.cc, Instructables.com for step-by-step guides on similar projects, and GitHub repositories where users share their code and designs. Engaging with communities dedicated to Arduino projects can provide invaluable support and inspiration as you continue your journey into automation and smart gardening solutions.
If you are interested in exploring the world of affiliate marketing, you may want to check out this article on the best niche for affiliate marketing in Pinterest. Understanding the right niche can help you maximize your earning potential. Additionally, if you are a copywriter looking for the perfect writing companion, you may find this article on the best laptop for copywriters helpful in making an informed decision. And for those conducting a literature review, this article on the best software for literature review can provide valuable insights on tools to streamline your research process.
FAQs
What is Arduino?
Arduino is an open-source electronics platform based on easy-to-use hardware and software. It is used to create interactive projects and prototypes.
What is a smart plant watering system?
A smart plant watering system is a system that automatically waters plants based on their specific needs, using sensors and a microcontroller to monitor and control the watering process.
How does Arduino help in building a smart plant watering system?
Arduino can be used to create a smart plant watering system by connecting sensors to measure soil moisture, a water pump or valve to control the water flow, and a microcontroller to process the data and automate the watering process.
What components are needed to build a smart plant watering system with Arduino?
Components needed include an Arduino board, soil moisture sensor, water pump or valve, tubing, power supply, and optional components such as a display or Wi-Fi module for remote monitoring and control.
What are the benefits of using a smart plant watering system?
A smart plant watering system can help conserve water by only watering plants when necessary, prevent overwatering or underwatering, and provide convenience for users by automating the watering process.
Are there any programming skills required to build a smart plant watering system with Arduino?
Basic programming skills are helpful for writing the code to control the watering system, but there are many resources and tutorials available to guide beginners through the process.

