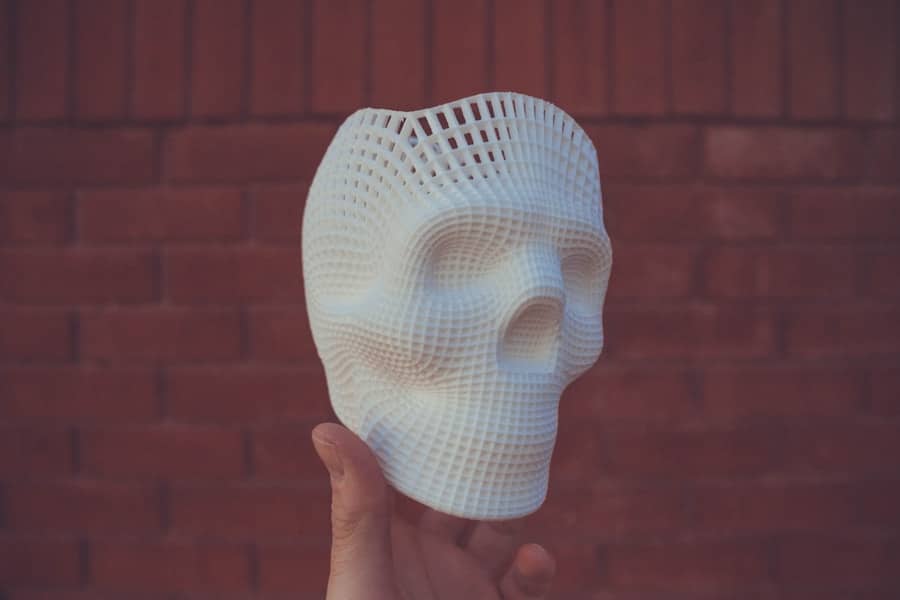
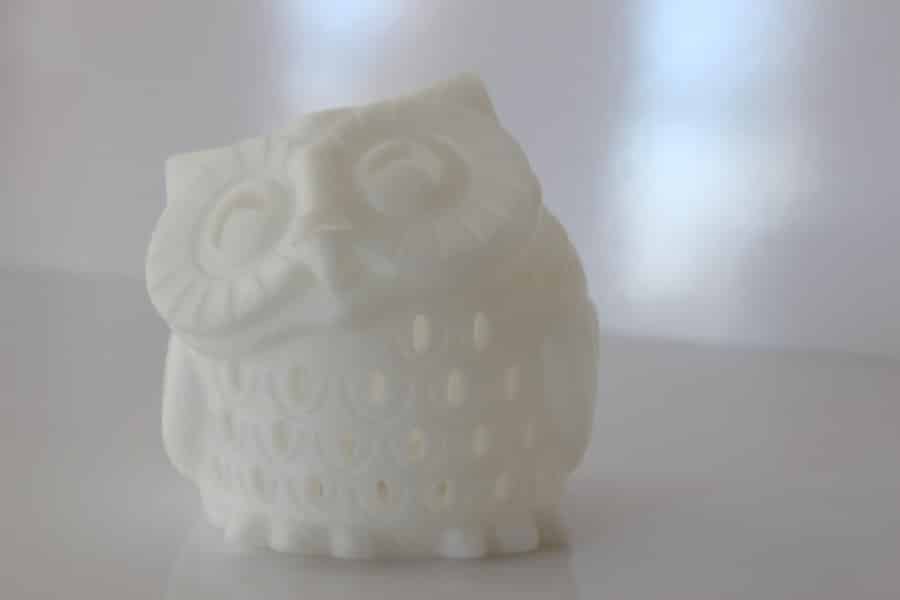
3D printing, also known as additive manufacturing, is a revolutionary technology that has transformed the way we create objects. Unlike traditional manufacturing methods that often involve subtracting material from a solid block, 3D printing builds objects layer by layer from a digital model. This process allows for the creation of complex geometries and intricate designs that would be nearly impossible to achieve with conventional techniques.
The technology has evolved significantly since its inception in the 1980s, with advancements in materials, printing methods, and applications across various industries. At its core, 3D printing relies on a digital file that contains the specifications of the object to be created. This file is typically generated using computer-aided design (CAD) software, which allows designers to create detailed 3D models.
Once the model is complete, it is sliced into thin horizontal layers using slicing software, which translates the design into a format that the 3D printer can understand. The printer then deposits material layer by layer, gradually building up the final object. This process can take anywhere from a few minutes to several hours, depending on the size and complexity of the design.
Key Takeaways
- 3D printing technology uses additive manufacturing to create three-dimensional objects layer by layer, allowing for complex and customized designs.
- When choosing the right 3D design software, consider factors such as user interface, compatibility with your 3D printer, and the level of technical expertise required.
- Planning your 3D object design involves considering the purpose of the object, its dimensions, and any functional or aesthetic requirements.
- Creating a 3D model from scratch requires a good understanding of 3D design principles and the ability to use design software to bring your vision to life.
- Checking and testing your 3D design is crucial to ensure that it meets the necessary specifications and will print successfully.
Choosing the Right 3D Design Software
Selecting the appropriate 3D design software is crucial for successful 3D printing. There are numerous options available, each catering to different skill levels and project requirements. For beginners, user-friendly software like Tinkercad or SketchUp offers intuitive interfaces and basic tools for creating simple designs.
These platforms are particularly beneficial for those who are new to 3D modeling, as they provide a gentle learning curve and allow users to grasp fundamental concepts without overwhelming complexity. For more advanced users, professional-grade software such as Autodesk Fusion 360 or Blender provides a wealth of features and capabilities. Fusion 360 is particularly popular among engineers and product designers due to its robust parametric modeling tools and simulation capabilities.
Blender, on the other hand, excels in artistic and organic modeling, making it a favorite among animators and game developers. The choice of software ultimately depends on the specific needs of the project, as well as the user’s familiarity with 3D modeling concepts.
Planning Your 3D Object Design

Effective planning is essential when embarking on a 3D object design project. Before diving into the modeling process, it is important to define the purpose of the object and its intended use. This involves considering factors such as functionality, aesthetics, and any specific requirements that may influence the design.
For instance, if the object is intended for practical use, such as a mechanical part or a tool, it is crucial to ensure that it meets performance standards and fits within existing systems. Additionally, sketching out ideas on paper or using digital tools can help visualize the final product before committing to a digital model. This preliminary phase allows designers to explore different shapes, sizes, and features without the constraints of software limitations.
By creating multiple iterations of the design concept, one can identify potential issues early on and refine ideas before investing time in modeling. This thoughtful approach not only streamlines the design process but also enhances creativity by encouraging exploration of various possibilities.
Creating a 3D Model from Scratch
Once the planning phase is complete, it’s time to create the 3D model from scratch. This process begins by setting up the workspace in the chosen design software and importing any reference images or sketches that may aid in modeling. Most CAD programs offer a variety of tools for creating basic shapes such as cubes, spheres, and cylinders, which can be manipulated and combined to form more complex structures.
Understanding how to use these tools effectively is key to achieving the desired outcome. As you build your model, it is important to keep in mind the principles of good design, such as symmetry, proportion, and balance. Utilizing features like mirroring can save time when creating symmetrical objects, while tools for scaling and rotating can help achieve precise dimensions.
Additionally, incorporating details such as fillets or chamfers can enhance both aesthetics and functionality by reducing sharp edges or improving fitment with other components. Throughout this process, regularly saving progress and creating backups can prevent loss of work due to software crashes or other unforeseen issues.
Checking and Testing Your 3D Design
After completing the initial model, it is crucial to check and test the design before proceeding to printing. This step involves reviewing the model for any errors or inconsistencies that could affect its performance or manufacturability. Many CAD programs include built-in analysis tools that can identify issues such as non-manifold edges or intersecting geometries that may cause problems during printing.
Utilizing these tools can save time and resources by catching potential errors early in the process. In addition to software checks, physical testing through prototyping can provide valuable insights into how the design will function in real-world applications. Creating a small-scale prototype or using rapid prototyping techniques can help assess fit, form, and function before committing to full-scale production.
This iterative approach allows designers to make necessary adjustments based on feedback from testing, ultimately leading to a more refined final product.
Preparing Your Design for 3D Printing

Exporting the Model
Once the design has been thoroughly checked and tested, it is time to prepare it for 3D printing. This involves exporting the model in a compatible file format, typically STL (stereolithography) or OBJ (object). These formats are widely accepted by most slicing software and 3D printers.
Scaling and Orientation
During this export process, it is essential to ensure that the model is properly scaled and oriented for printing; incorrect scaling can lead to significant discrepancies between the intended design and the final printed object.
Slicing and Print Settings
After exporting the model, slicing software comes into play. This software takes the 3D model and converts it into G-code—a language that tells the printer how to move its print head and build the object layer by layer. Slicing software also allows users to adjust various settings such as layer height, print speed, infill density, and support structures. Each of these parameters can significantly impact print quality and material usage; therefore, careful consideration should be given to optimize these settings based on the specific requirements of the project.
Choosing the Right 3D Printing Material
The choice of material for 3D printing is one of the most critical decisions in the entire process. Different materials offer varying properties such as strength, flexibility, heat resistance, and surface finish. Common materials include PLA (polylactic acid), ABS (acrylonitrile butadiene styrene), PETG (glycol-modified PET), and nylon, each with its own advantages and disadvantages.
For instance, PLA is biodegradable and easy to print with but may not withstand high temperatures or mechanical stress as well as ABS. When selecting a material, it is essential to consider the intended application of the printed object. For functional prototypes or parts that will undergo stress or wear, materials like nylon or PETG may be more suitable due to their durability and impact resistance.
Conversely, if aesthetics are a priority—such as in artistic projects—materials with vibrant colors or unique finishes may be preferred. Additionally, some advanced materials like carbon fiber-infused filaments offer enhanced strength-to-weight ratios but may require specialized printers capable of handling abrasive materials.
Printing and Finishing Your 3D Object
With all preparations complete, it’s time to initiate the printing process. Once the printer is set up with the chosen material loaded into its extruder or resin vat (for SLA printers), users can start printing their designs. During this phase, monitoring the print progress is advisable to catch any issues early on—such as warping or layer adhesion problems—that could compromise the final product’s quality.
After printing is complete, post-processing steps are often necessary to achieve a polished finish on the object. This may involve removing support structures if they were used during printing or sanding down rough edges for a smoother surface finish. Depending on the material used and desired outcome, additional finishing techniques such as painting, sealing with epoxy resin, or applying heat treatments can enhance both appearance and durability.
Each of these steps contributes significantly to transforming a raw printed object into a finished piece ready for its intended use or display. In summary, mastering 3D printing technology involves understanding its principles, selecting appropriate design software, planning effectively, creating detailed models from scratch, checking designs rigorously, preparing for printing meticulously, choosing suitable materials wisely, and executing finishing touches skillfully. Each stage plays an integral role in ensuring that the final product meets expectations in terms of functionality and aesthetics while leveraging the unique capabilities of additive manufacturing.
If you’re interested in exploring more topics across the tech sector, you should check out this article from Hacker Noon that covers a range of interesting subjects. Additionally, if you’re looking for the best laptops for graphic design in 2023 to help with your 3D printing projects, this article provides some great recommendations. And if you’re considering delving into affiliate marketing on Pinterest as a niche, this article offers some valuable insights to help you get started. Hacker Noon, Best Laptops for Graphic Design in 2023, Best Niche for Affiliate Marketing in Pinterest
FAQs
What is 3D printing?
3D printing is a process of creating three-dimensional objects from a digital file. It involves adding material layer by layer to build the object, as opposed to traditional subtractive manufacturing methods.
What is designing 3D objects from scratch?
Designing 3D objects from scratch involves creating a digital 3D model of an object using specialized software. This process allows for complete customization and creativity in the design of the object.
What software is used for designing 3D objects from scratch?
There are various software options available for designing 3D objects from scratch, including Tinkercad, Fusion 360, SolidWorks, and Blender. These programs offer different features and complexity levels to suit different user needs.
What are the steps to design and print 3D objects from scratch?
The steps to design and print 3D objects from scratch typically involve conceptualizing the design, creating a digital 3D model using software, preparing the model for 3D printing, and then sending the file to a 3D printer for fabrication.
What materials can be used for 3D printing?
A wide range of materials can be used for 3D printing, including plastics, metals, ceramics, and even food-based materials. The choice of material depends on the specific requirements of the object being printed.
What are the benefits of designing and printing 3D objects from scratch?
Designing and printing 3D objects from scratch allows for complete customization and control over the design process. It also enables rapid prototyping, cost-effective production of complex geometries, and on-demand manufacturing.

